Utilizing eViewer’s Cropping and Snipping Tools
Published: June 19, 2024
eViewer v7 provides the best-in-class viewer experience with the greatest performance across multiple devices, offers a powerful cropping and snipping tools functionality designed to help you work smarter. The viewer supports 100+ document formats, with the use of the latest HTML5, Angular, and JavaScript technologies making it more secure and stable. It also offers the ability to customize the appearance and features/functions of the viewer just by turning options on or off in the preferences file.
In this blog post, we will look out for these two tools- cropping and snipping and guide you on how to enable or disable them within the viewer.
Understanding The Differences Between Cropping and Snipping
Sometimes documents come with large and empty margins and removing unnecessary margins and cropping these out can make the document look cleaner and more professional.
In eViewer, users have access to both cropping and snipping functionalities. When using the cropping function, the selected area of any document or image will be cropped and will remain text-enabled so users will be able to search and extract text from the content within the cropped area. Additionally, cropped sections of documents and images will still allow users to annotate and manipulate them.
On the other hand, snipping is all about capturing specific parts of the document without altering or removing parts of the document. When using the snipping tool, a rectangle outline appears over the page anything inside the rectangle box will be copied into the viewer’s clipboard and can be pasted into the current document, another document, or creating a new document within the viewer.
Let’s check out how the cropping and snipping tools work in the eViewer. To do this, please download the react sample app of eViewer from our GitHub page, and follow the instructions to get eViewer deployed. If you encounter any difficulties, please reach out to us online, open a support ticket, or reach out to your account executive.
After the sample code is running, eViewer will appear like this:
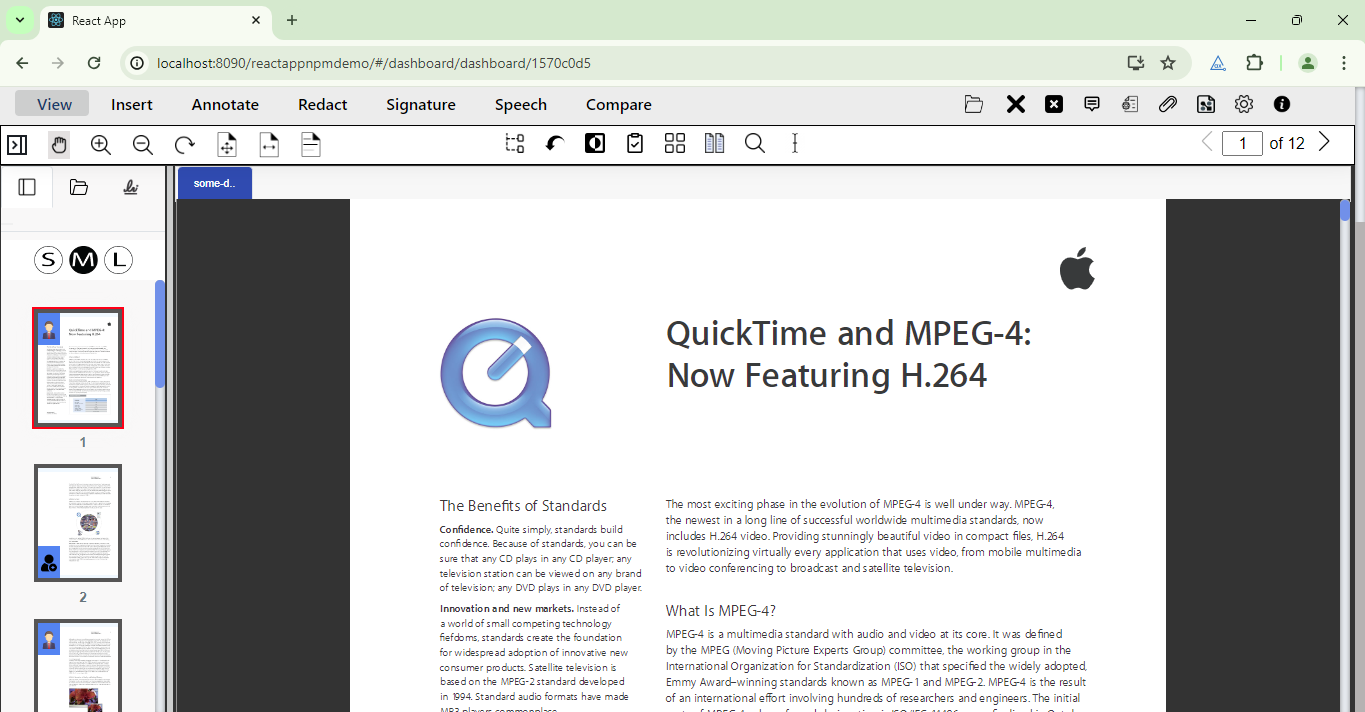
Figure 1 – eViewer react app sample.
Crop Page Tool
This feature is located in the Insert tab in the viewer and it will remove unnecessary portions of the pages from the document.

Figure 2 – The crop page tool in the Insert tab.
The user will simply click and hold on to the outer point of the area of the page that needs to be cropped and drag diagonally the mouse pointer over the specific portion of the page in the document to encompass the entire area.
Releasing the mouse button will outline the selected area and can be shown over the page.
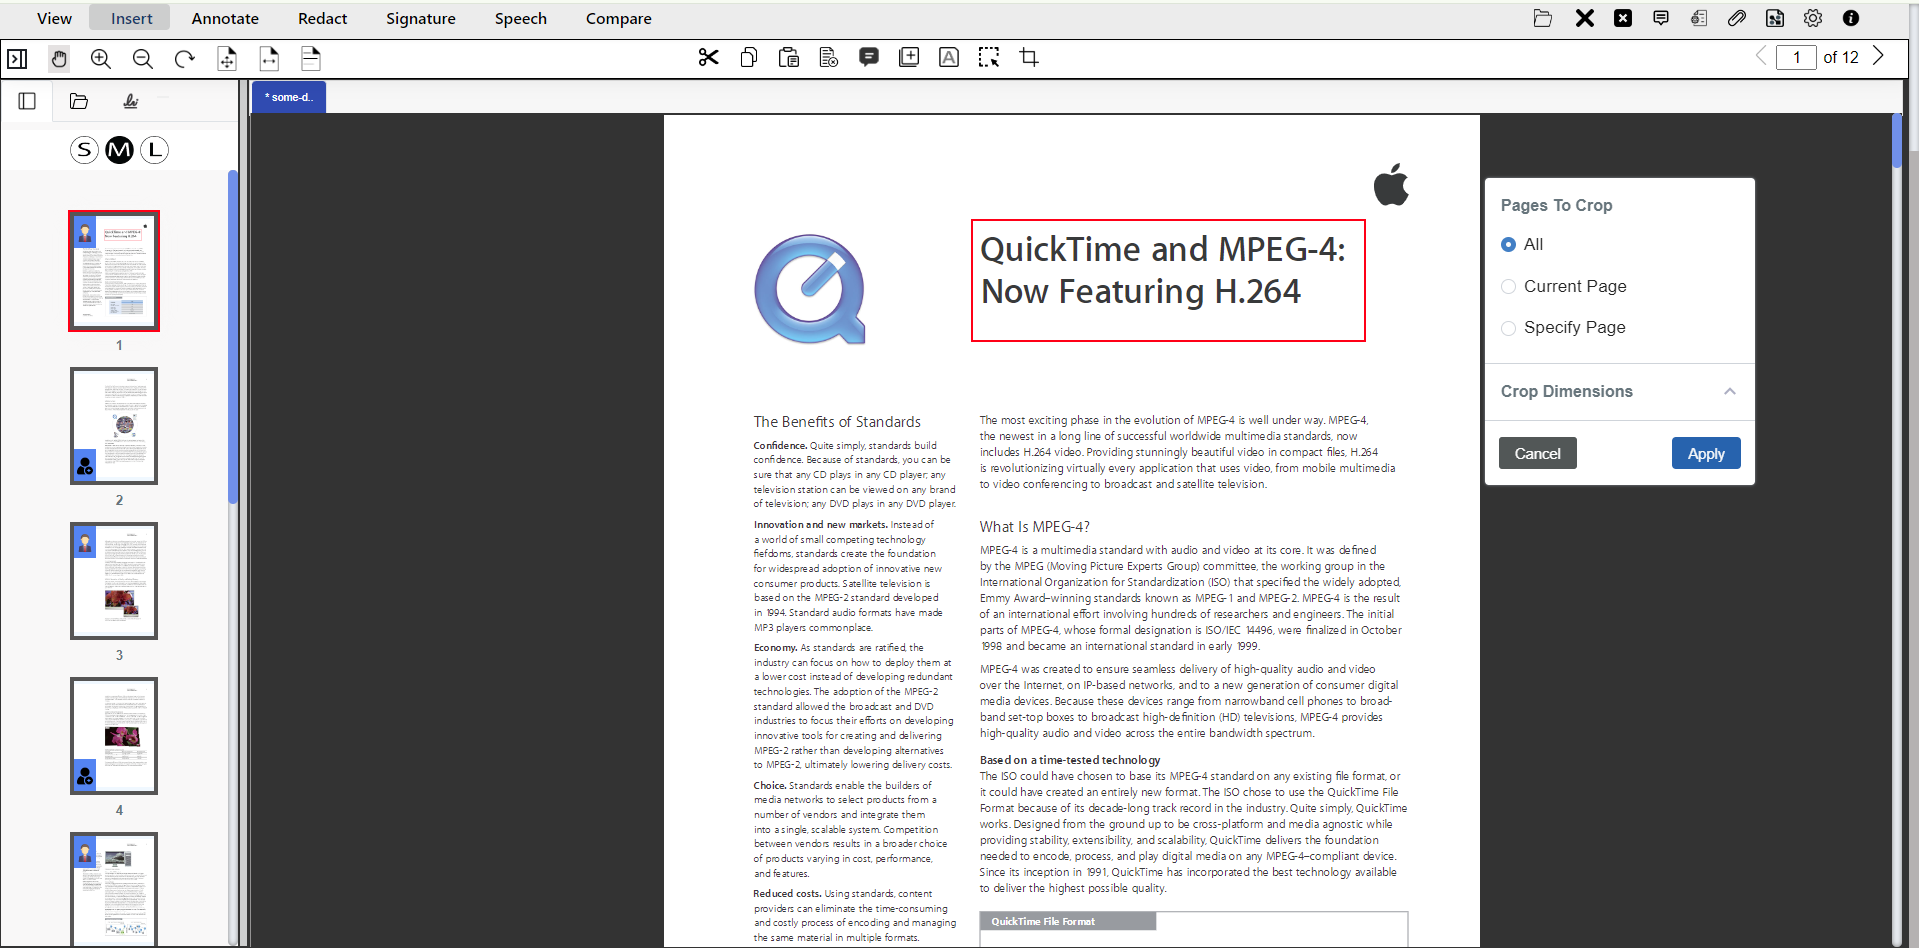
Figure 3 – A selected area outlined with a rectangle box.
eViewer also provides the following options to crop the multiple pages of the document, let’s understand these.
The All option allows the user to crop all pages of a document by default, this option is selected and when only the current page of the document needs to be cropped, then select Current Page. To provide a single page or a page range to crop, the user can select the Specific Page option.
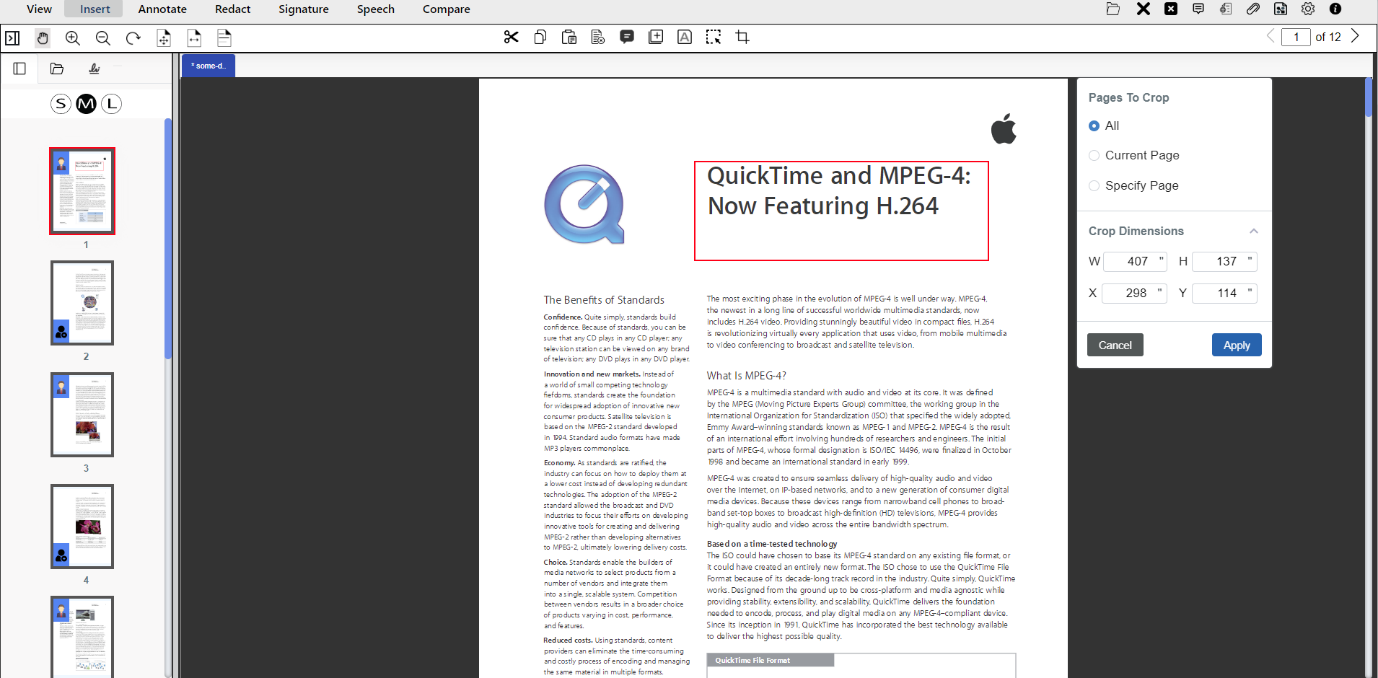
Figure 4 – The available crop page options.
After the cropped area is selected, then the dimensions can be adjusted with the Crop Dimensions option which is beneficial for specific measurements for the area that needs to be cropped.
Once everything is set, the viewer will display a confirmation pop-up window to confirm the selected area to be cropped.
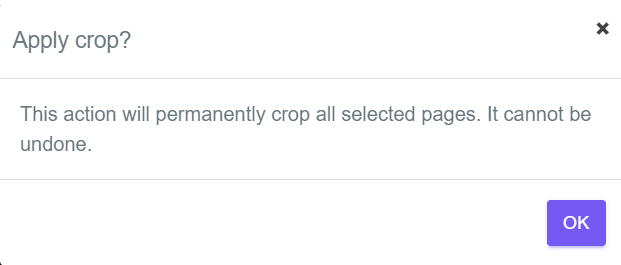
Figure 5 – The confirmation pop-up window.
After confirmation, only the selected area inside the rectangle will be kept, and the rest will be removed.
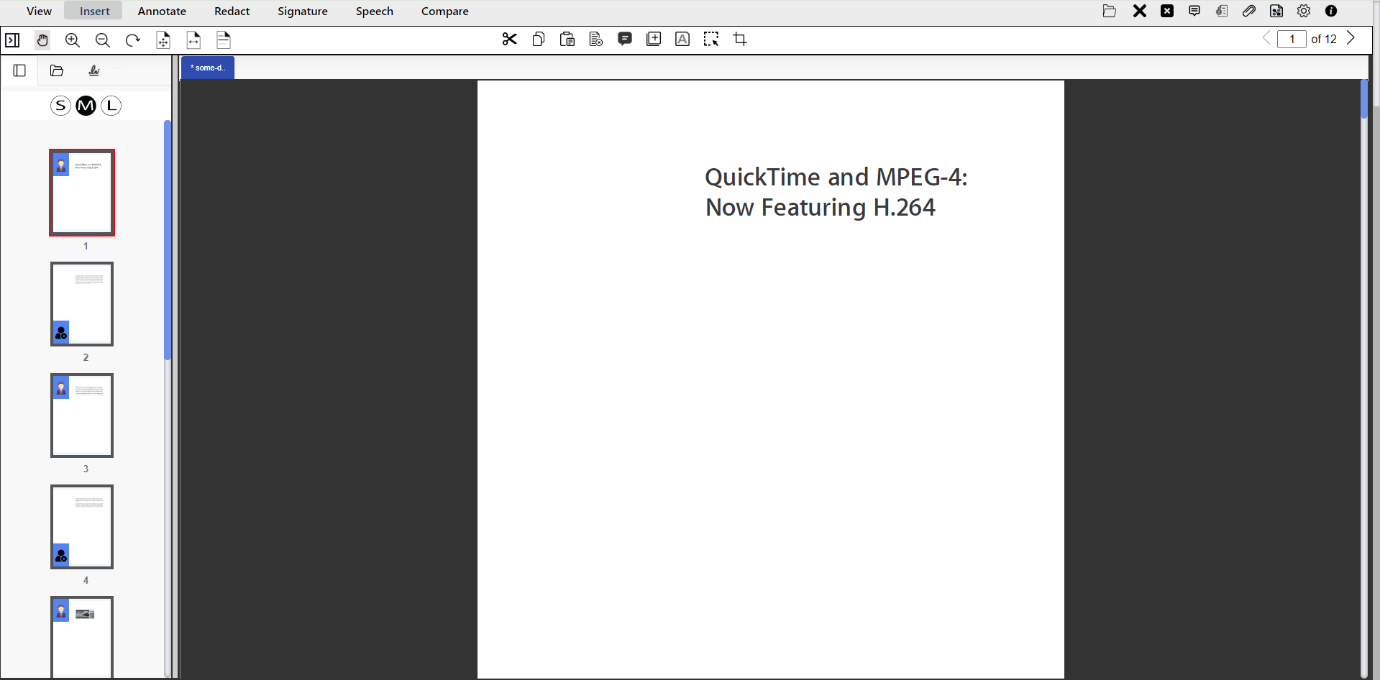
Figure 6 – Result after using the crop page feature, showing how the page has been changed.
The crop page feature is best used for removing unnecessary margins or irrelevant content from documents ensuring that only the most pertinent information is displayed. This is useful for those who need to focus on specific sections of a document, such as contracts, legal documents, or reports. Additionally, it can improve the visual consistency of documents, providing a cleaner and more professional appearance.
Snipping Tool
The snipping tool feature is also located in the Insert tab along with the crop page feature. It snips a selected area of the current page from the document.

Figure 7 – The snipping tool feature.
A rectangle outline appears over the page by clicking and holding on an outer point of the desired capture area on the document.
Figure 8 – A selected area outlined with a rectangle box.
The user can drag diagonally to select the specific portion of the page in the document that needs to be snipped and release the mouse button. The confirmation pop-up will be displayed.

Figure 9 – The confirmation pop-up window.
Anything inside the rectangle box will be copied and the user can paste it into the current document, another document, or create a new document within the viewer.
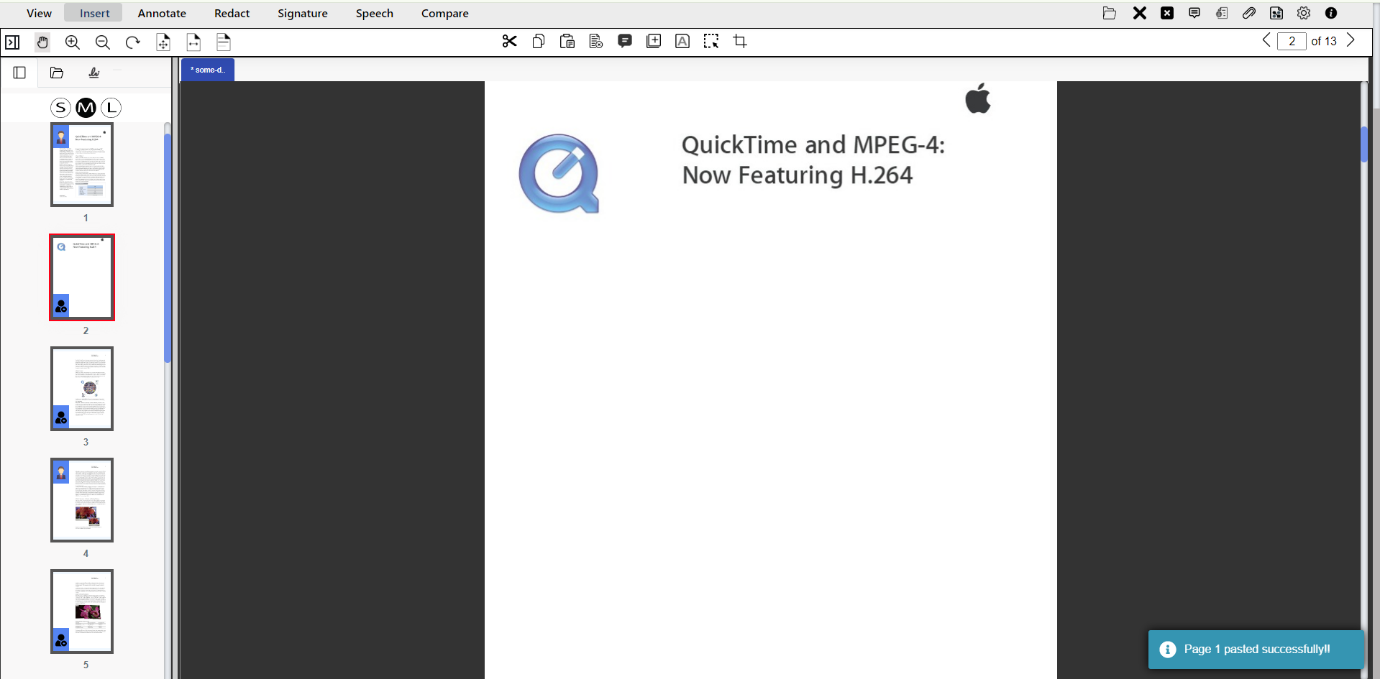
Figure 10 – Result after using the snipping tool feature, showing how the next page is created.
The snipping tool is extremely useful when there are large pages of the document and the user only needs specific information from it in a separate document. The user can snip that information from the page and paste it into a new document within the viewer. This saves time and increases the user’s productivity.
Enabling/Disabling Cropping and Snipping Tool Functionality
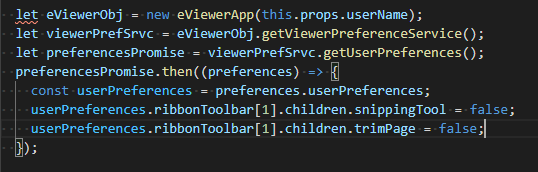
In eViewer, cropping and snipping tool functionality is by default enabled, but if the administrator wants to disable these features or any other features, it can be easily done by setting the value to “false” in the user preferences JSON file. The following code snippet below demonstrates how to enable or disable the cropping and snipping tool functionality.
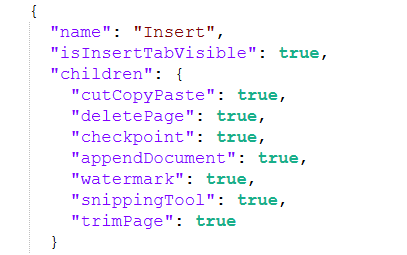
It can also be disabled at runtime using the following code sample:
Conclusion
The cropping and snipping tools in eViewer are designed to enhance the users’ ability for increased document handling capabilities, making it easier to focus on what matters most. By following the simple steps to enable or disable these features, you can customize your viewer experience to suit your needs perfectly. Whether you’re refining a report or sharing specific information, these tools can save your time and effort.
Get started and discover how eViewer seamlessly transforms document management workflow, you can download eViewer and test it locally, or try it out now on our live demo deployed on our cloud server.
If you have sales questions, get in touch with the Sales team who will be happy to help.
Share This Article